
Propagation
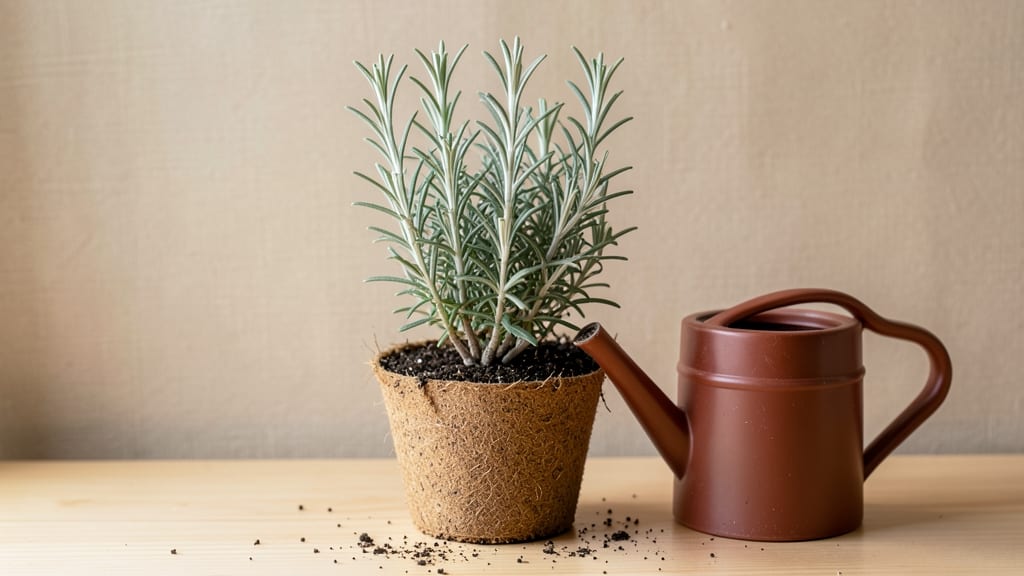
Starting rosemary from seed feels like cheating the system—bypassing the $4 nursery plants for a bush that’ll last decades. 🌿 The key to fast germination isn’t luck; it’s a few simple tweaks to moisture, warmth, and patience.
I’ve watched rosemary seeds sprout in 7-10 days (not the 3 weeks most guides claim) with these exact steps.
Rosemary seeds need warmth (70-75°F soil) and consistent moisture—not soggy, not bone-dry—to break dormancy. A heat mat under your seed tray cuts germination time in half, and a clear plastic dome traps humidity without drowning the seeds.
Skip the fancy setups: a shallow tray, some potting mix, and a spray bottle are all you truly need.
What you’ll end up with is a fluffy, aromatic rosemary bush by late spring—thicker and hardier than store-bought cuttings. The secret? Pruning early to encourage branching, not waiting for it to bolt into a single woody stem.
Even my first attempt (which I nearly gave up on) produced a plant that’s now my kitchen’s star.
This method works for any rosemary variety, from upright ‘Tuscan Blue’ to trailing ‘Prostratus’. Just remember: rosemary seeds are stubborn but worth it. Here’s how to coax them into life—without the frustration.
📚 In This Guide
- What you need
- Instructions
- Tips and common mistakes
- Wrapping up and next steps
What you need
- ● Rosemary seeds: 1–2 packets (look for Salvia rosmarinus; 50–100 seeds per packet is ideal).
- ● Seed-starting mix: 1–2 quarts of sterile, well-draining potting soil (avoid garden soil—it’s too dense!).
- ● Containers: Small seed trays (with drainage holes) or
- ● Biodegradable pots (2–3 inches deep) or
- ● Repurposed containers (yogurt cups, egg cartons) with drainage holes punched in.
- ● Spray bottle: 1 (for gentle watering—no heavy hands!).
- ● Plastic wrap or humidity dome: 1 (to create a mini greenhouse effect).
- ● Grow lights or sunny windowsill: Access to 6–8 hours of bright light daily (south-facing windows or LED grow lights work best).
- ● Heat mat: 1 (keeps soil warm for faster germination—70–80°F is perfect).
- ● Fertilizer: Mild, balanced liquid fertilizer (5-5-5 or 10-10-10) for transplanting.
- ● Perlite or vermiculite: 1–2 tablespoons (to lighten soil and improve drainage).
- ● Label markers: 1–2 (to track seed varieties if growing multiple types).
Step-by-Step instructions for starting rosemary from seed
Here's how I guarantee strong, vigorous rosemary seedlings in just 2-3 weeks—no flimsy stems or slow starts.
🌱 Step 1: Prepare Seeds and Growing Medium
Rosemary seeds have a hard outer coating, so I soak them in warm water for 24 hours before planting. This softens the shell and speeds up germination. Use a small bowl and cover the seeds completely—they won't float, so no need to worry about losing them.
While the seeds soak, mix cactus/succulent potting mix with 20% perlite for excellent drainage. Rosemary hates soggy roots, so this blend prevents rot. Fill your seed trays or small pots to within ½ inch of the rim and moisten lightly until the surface feels damp but not wet.
💧 Step 2: Plant Seeds and Maintain Ideal Conditions
After soaking, plant seeds ¼ inch deep—any deeper and they'll struggle to emerge. Space them 1 inch apart in rows if using a tray, or plant 2-3 seeds per small pot. Cover lightly with a fine layer of the same mix, then mist gently with water until the soil surface looks uniformly damp.
Place the tray under a grow light or in a warm, sunny window (70-75°F). Rosemary needs warmth to germinate—if your home runs cooler, use a seedling heat mat. Keep the soil consistently moist but never soggy. You'll see tiny sprouts in 10-14 days, but some stubborn seeds may take up to 3 weeks.
☀️ Step 3: Provide Bright Light and Prevent Leggy Growth
The moment seedlings emerge, move them to 12-14 hours of bright light daily. A south-facing window works, but most homes lack sufficient intensity. I use a T5 LED grow light just 2 inches above the seedlings—closer than you'd think for rosemary. Raise it as they grow to maintain that distance.
Watch for leggy growth (thin stems with leaves spaced far apart). This means your light is too far away or too weak. Strong seedlings have compact growth with deep green leaves. If you notice yellowing, reduce watering—rosemary prefers dry soil and will tolerate drought better than overwatering.
✂️ Step 4: Thin and Harden Off for Transplanting
Once seedlings have 2-3 sets of true leaves (not the initial seed leaves), thin to the strongest plant per pot. Snip the weaker stems at the base with clean scissors—don't pull, or you'll disturb the roots of the remaining plant. This reduces competition and gives your rosemary room to grow.
Start hardening off 2 weeks before transplanting outdoors. Place seedlings outside in a sheltered spot for 1-2 hours the first day, gradually increasing time over 7-10 days. Rosemary is drought-tolerant, so don't water during this process—let them adapt to natural conditions. Transplant on a cool, overcast day to reduce shock.
🪴 Step 5: Transplant to Permanent Home
Choose a well-draining spot with full sun (6+ hours daily). Rosemary thrives in USDA Zones 7-10—in colder climates, grow it in containers and bring indoors before frost. Dig a hole twice as wide as the root ball but no deeper. Gently remove the seedling, loosen the roots if pot-bound, and place it in the hole.
Backfill with soil, firm lightly, and water deeply. Mulch with ½ inch of gravel or coarse sand to keep roots cool and prevent rot. Avoid fertilizing for 6-8 weeks—rosemary prefers lean soil and over-fertilizing makes it floppy. Prune lightly after transplanting to encourage bushier growth.
Tips & tricks for perfect rosemary seed germination
These little-known tricks will help you skip the common pitfalls and get rosemary seedlings that grow up strong and fast.
Soaking Strategy: The 24-hour soak is non-negotiable for rosemary seeds—this tough outer coating needs that full time to soften properly. I like to add a pinch of honey or cinnamon to the warm water (optional but helpful) as natural antimicrobials that prevent mold during germination. Change the water halfway through if it cools below 75°F—warmth is key for breaking dormancy.
Lighting Hack: That 12-14 hours of bright light in Step 3 is critical, but here's what nobody tells you: rosemary seedlings actually prefer slightly cooler light than most herbs. If you're using a grow light, set it to 6500K color temperature (cool white) rather than warm white. This mimics their Mediterranean native conditions and prevents leggy growth. I've seen seedlings double in height overnight when light is too warm!
Thinning Technique: When you're thinning to the strongest plant in Step 4, use sterilized scissors to snip at the base rather than pulling. The roots of your remaining seedling will be disturbed less, and you'll avoid the "shocked" look that often appears after pulling. This small detail makes a surprisingly big difference in recovery time—your kept plant will look healthier immediately.
Transplant Timing: That 2-week hardening off period is your secret weapon against transplant shock. I start with just 1-2 hours on day one, but here's my pro move: place seedlings in a spot where they'll get morning sun but afternoon shade. This gradual transition mimics natural conditions and prevents sunburn on tender new leaves. Cool overcast days are perfect for final transplanting—rosemary hates heat stress when establishing roots.
Pro Tips for Starting Rosemary From Seed
- These little-known tricks will help you skip the common pitfalls and get rosemary seedlings that grow up strong and f...
- Soaking Strategy: The 24-hour soak is non-negotiable for rosemary seeds—this tough outer coating needs that full time...
- Lighting Hack: That 12-14 hours of bright light in Step 3 is critical, but here's what nobody tells you: rosemary see...
Frequently asked questions
Got questions about growing rosemary from seed?
You’re not alone! Here are answers to the most common queries to help you avoid pitfalls and maximize success.
How long does it take for rosemary seeds to germinate?
Rosemary seeds are notoriously slow to sprout—expect anywhere from 30 to 90 days (or even longer!). Patience is key! Pre-soaking seeds in warm water for 24 hours and using a heat mat (75–80°F) can speed things up. If nothing emerges after 3 months, they may not be viable—try fresh seeds or consider cuttings instead.
Can I grow rosemary from seed outdoors in cold climates?
Rosemary thrives in USDA Zones 8–10, so outdoor planting in colder areas is tricky. Start seeds indoors 10–12 weeks before the last frost, then transplant seedlings into pots or a greenhouse. If you must try direct sowing, wait until after all frost risk (spring/summer) and use a black plastic mulch to retain warmth. Hardiness isn’t rosemary’s forte!
Why aren’t my rosemary seeds germinating? Troubleshooting tips.
Slow or failed germination often stems from:
- Old seeds: Rosemary seeds lose viability quickly—use seeds <1 year old.
- Poor soil: Seeds need well-draining, sterile mix (like cactus/succulent soil). Avoid compost-heavy blends.
- Lack of light: Place trays under grow lights (12+ hours/day) or in a sunny window.
- Temperature stress: Keep soil consistently warm (70–80°F). A heat mat helps!
Is it better to buy rosemary plants or grow from seed?
For beginners or speed, buying nursery starts is ideal—rosemary from seed takes months to mature and may not retain the parent plant’s traits. However, growing from seed lets you experiment with varieties (like prostratus or aromatic types) and save money long-term. If you’re patient and love a challenge, seeds are rewarding!
When is the best time to start rosemary seeds indoors?
Start seeds 10–12 weeks before your last frost date (e.g., late winter for spring planting). Rosemary hates transplant shock, so give seedlings plenty of time to harden off (gradually acclimate to outdoor conditions for 1–2 weeks before moving them). If you’re in a warm climate, you can direct-sow in early spring or late summer.
Wrapping up and next steps
Growing rosemary from seed is a rewarding journey that connects you to nature while filling your space with fragrant, culinary delights! With the right germination hacks—like soaking seeds, using warmth, and maintaining patience—you’ll soon enjoy lush, fluffy growth.
Whether you’re a seasoned gardener or a beginner, this process is simpler than you think.
Ready to take the next step? Start small—plant a few seeds in a pot or windowsill, and watch your green thumb flourish. Soon, you’ll be harvesting fresh rosemary for cooking, teas, or even homemade remedies. Happy growing! 🌱✨