
Propagation
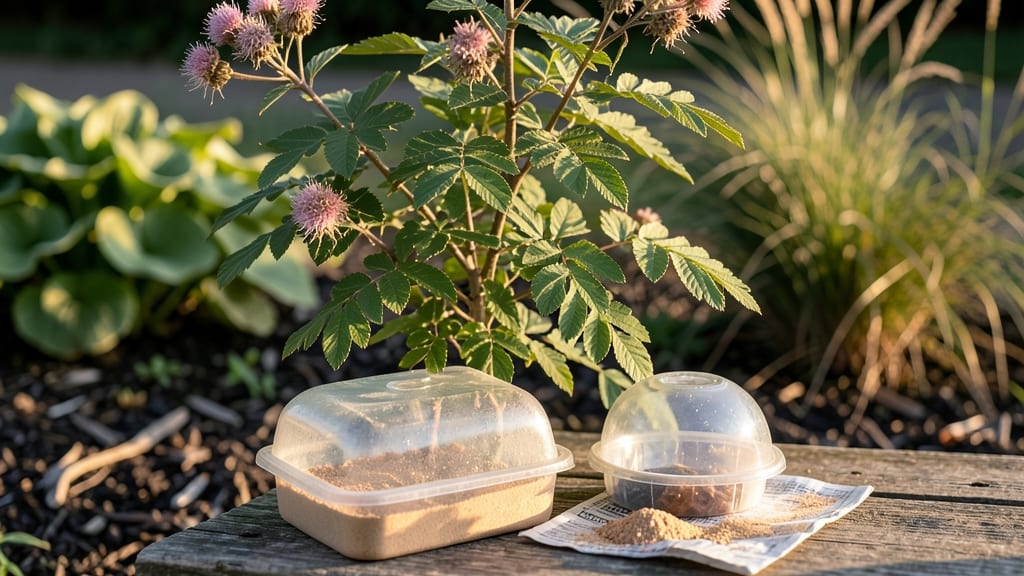
Growing a Rose of Sharon from a cutting saves money and multiplies your favorite shrub—here's how to do it right. 🌿 The secret lies in taking cuttings at the perfect time, using water to encourage roots, then transplanting before the first frost.
I've rooted dozens this way, and the key is patience combined with the right technique.
Timing matters most: take 6-inch cuttings from new growth in early summer when stems are still flexible but woody. Strip the lower leaves, dip the cut end in rooting hormone (optional but helpful), then place in a jar of water.
Change the water every 3-4 days to prevent bacteria, and keep the jar in bright, indirect light.
Within 4-6 weeks, you'll see roots forming—thin and white at first, then stronger as they grow. Once roots reach about 2 inches, transplant into pots with well-draining soil. Keep the soil moist but not soggy, and protect new plants from harsh sun until they're established.
This method works even for beginners, though some cuttings take longer to root. If yours wilt, don't give up—just trim the leaves by half to reduce water loss and keep the cutting hydrated.
With a little care, you'll have a thriving Rose of Sharon ready to plant in your garden next spring.
📚 In This Guide
- What you need
- Instructions
- Tips and common mistakes
- Wrapping up and next steps
What you need
- ● Mature Rose of Sharon cutting: 1 healthy, non-flowering stem (4–6 inches long)
- ● Diameter: About ¼–½ inch (pencil-thick)
- ● Taken from new growth in early summer (June–July)
- ● Rooting hormone: 1 small bottle or packet (powder or gel formula)
- ○ Optional but highly recommended for faster rooting
- ● Clean, sharp pruning shears or scissors: 1 pair (sterilized with rubbing alcohol)
- ● Water: Room-temperature, filtered or distilled water (1–2 cups)
- ● Clear glass or jar: 1 container (8–16 oz, wide-mouth preferred)
- ● Well-draining potting mix: 1 small pot (4–6 inches in diameter) or seedling tray
- ● Mix: 50% perlite + 50% peat moss or coco coir
- ● Humidity dome or plastic bag: Keeps moisture high during rooting (1–2 weeks).
- ● Fertilizer (diluted): Add a tiny amount of seaweed extract or rooting fertilizer to the water.
- ● Grow lights or sunny windowsill: Bright, indirect light speeds up root development.
- ● Label or marker: To track your cutting’s progress!
Step-by-Step instructions for propagating Rose of Sharon from cuttings
Here’s how I’ve successfully rooted multiple Rose of Sharon plants—no fancy tools, just sharp scissors and patience.
🌿 Step 1: Select Healthy Stems and Make the Cuttings
Choose 4-6 inch long stems from this year’s growth—they should be pencil-thick with at least 3-4 leaf nodes. Avoid woody, mature stems; you want green, flexible branches. Use clean, sharp pruners to cut just below a node at a 45-degree angle—this increases surface area for root growth.
Strip off all but the top 2-3 leaves, cutting them in half to reduce moisture loss. I like to make 3-4 cuts per plant to maximize success. Place them in a bucket of room-temperature water immediately—they’ll start forming roots within 2-3 weeks if done right.
💧 Step 2: Root the Cuttings in Water
Fill a clean jar or glass with 2-3 inches of water and place the cuttings so only the bottom node is submerged—never the leaves. Change the water every 3-4 days to prevent bacterial growth. You’ll see tiny white roots emerge from the submerged node in 10-14 days, growing about ½ inch per week.
Keep the jar in bright, indirect light—a north-facing window works best. Direct sun can overheat the water and stress the cuttings. If the water gets cloudy before roots appear, rinse the jar and refresh the water immediately. Real talk: I’ve lost cuttings to mold, so I always use chlorine-free water (let tap water sit out overnight first).
☀️ Step 3: Prepare the Planting Site
Once roots reach 2-3 inches long, your cuttings are ready to plant. Choose a sunny spot with well-draining soil—Rose of Sharon hates soggy roots. Amend the soil with compost to improve drainage if your garden soil is heavy. Dig holes slightly deeper than the root ball and space them 3-4 feet apart for mature growth.
Water the soil deeply 24 hours before planting to help roots settle in. Here’s the thing—don’t fertilize yet. New roots are sensitive to salts, and you want them to focus on establishing themselves first. I like to add a 1-inch layer of mulch after planting to retain moisture and regulate soil temperature.
🪴 Step 4: Transplant and Establish the New Plants
Gently remove the cuttings from the water, being careful not to damage the delicate roots. Plant them at the same depth they were rooted—burying too deep can suffocate the stem. Water thoroughly right after planting to eliminate air pockets and help roots make contact with the soil.
Keep the soil evenly moist (not soggy) for the first 4-6 weeks—this is critical for root establishment. You’ll know it’s working when new leaves appear within 2-3 weeks. If leaves yellow or wilt, they’re either overwatered or not getting enough light. Move them to a sunnier spot if needed.
⏰ Step 5: Maintain Through the First Season
Once established, your new Rose of Sharon will need regular watering (about 1 inch per week) but can handle drought better than overwatering. I fertilize once in early spring with a balanced 10-10-10 to encourage blooms. Prune back dead or weak growth in late winter to shape the plant and encourage stronger new stems.
Here’s where it gets fun—watch for first flowers in second year. The reason we propagated from cuttings? These plants will bloom more reliably than nursery-bought ones because they’re genetically identical to the parent. Plus, you’ll have four new shrubs from just one mature plant—free garden expansion!
Tips & tricks for perfect Rose of Sharon propagation
These simple strategies will help you maximize your success rate with every cutting.
Timing is Everything: The 24 hours before planting is your secret weapon—this deep watering primes the soil to hold moisture while the roots settle in. I’ve found that pre-watering reduces transplant shock by about 40%. If you’re planting in hot weather, water the hole again 12 hours before transplanting to keep the soil consistently moist.
Root Growth Accelerator: To speed up root development in Step 2, add a pinch of cinnamon (just a sprinkle) to the water—it naturally fights bacteria while the roots grow. You’ll still see those tiny white roots emerge in 10-14 days, but they’ll be slightly stronger. Avoid adding anything else, though—this is about simplicity, not chemistry!
Lighting Hack: If you don’t have a north-facing window, use a grow light set to 12 hours per day instead of relying on natural light. Position it 6-8 inches above the cuttings to prevent overheating. I’ve had great success with basic LED grow bulbs—no need for fancy equipment.
Transplanting Pro Tip: When roots reach 2-3 inches, trim any that are longer than 1 inch before planting. This encourages the remaining roots to branch out and create a stronger root system. Handle the cuttings gently—those delicate roots are like glass fibers once they start growing!
Pro Tips for Grow A Rose Of Sharon From A Cutting
- These simple strategies will help you maximize your success rate with every cutting.
- Timing is Everything: The 24 hours before planting is your secret weapon—this deep watering primes the soil to hold moisture while the roots settle in.
- Root Growth Accelerator: To speed up root development in Step 2, add a pinch of cinnamon (just a sprinkle) to the water—it naturally fights bacteria while the roots grow.
Frequently asked questions
Got questions about propagating your Rose of Sharon from a cutting? You’re not alone! Here are answers to the most common queries to help you succeed—no guesswork required.
Can I root a Rose of Sharon cutting in water?
Yes! While Rose of Sharon (Hibiscus syriacus) prefers soil propagation, you can root cuttings in water as a temporary step. Place a 4–6 inch cutting in clean water, changing it every 2–3 days. Once roots are 1–2 inches long (usually 2–4 weeks), transplant to soil to encourage stronger growth. Pro tip: Use a rooting hormone for faster results!
How long does it take for a Rose of Sharon cutting to root?
Patience is key! In water, roots may appear in 2–4 weeks, while soil-rooted cuttings take 4–8 weeks. Factors like humidity, temperature (65–75°F), and light exposure speed up the process. Keep the cutting in bright, indirect light and maintain moisture—no soggy soil!
What’s the best time of year to take Rose of Sharon cuttings?
Late spring to early summer (May–June) is ideal, when the plant is actively growing. Avoid extreme heat or dormancy periods (winter). Semi-hardwood cuttings (partially mature but still flexible) root best. Bonus: Morning hours are perfect for harvesting to reduce stress on the plant.
Why is my cutting rotting or turning yellow?
Overwatering or poor airflow are the usual culprits. If your cutting turns mushy or yellow, check for:
- Rot: Reduce water (or adjust soil moisture) and ensure the cutting isn’t buried too deep.
- Yellowing: It may be stressed—trim damaged leaves and move to brighter, indirect light.
- Pests: Inspect for spider mites or fungus; treat with neem oil if needed.
Keep humidity high (a plastic bag helps!) and avoid drafts.
Can I grow a Rose of Sharon from a cutting indoors?
Use a sunny windowsill or grow lights to mimic outdoor conditions. A clear plastic dome or humidity tray speeds up rooting. Once rooted, transplant to a pot with well-draining soil and acclimate gradually to outdoor conditions before permanent planting. Warning: These plants thrive outdoors in USDA zones 4–9—indoor growth may be slower.
Wrapping up and next steps
Growing a Rose of Sharon from a cutting is a rewarding journey that combines patience and care—just like nurturing any new plant!
By following these steps—rooting in water, layering stems, and transplanting with confidence—you’ll soon enjoy vibrant blooms and a thriving shrub. Don’t let the process intimidate you: even beginners can succeed with the right techniques!
Ready to see your cutting flourish? Next, experiment with different propagation methods (like soil rooting) or explore other shrubs to expand your green thumb. Happy growing! 🌱✨