
Propagation
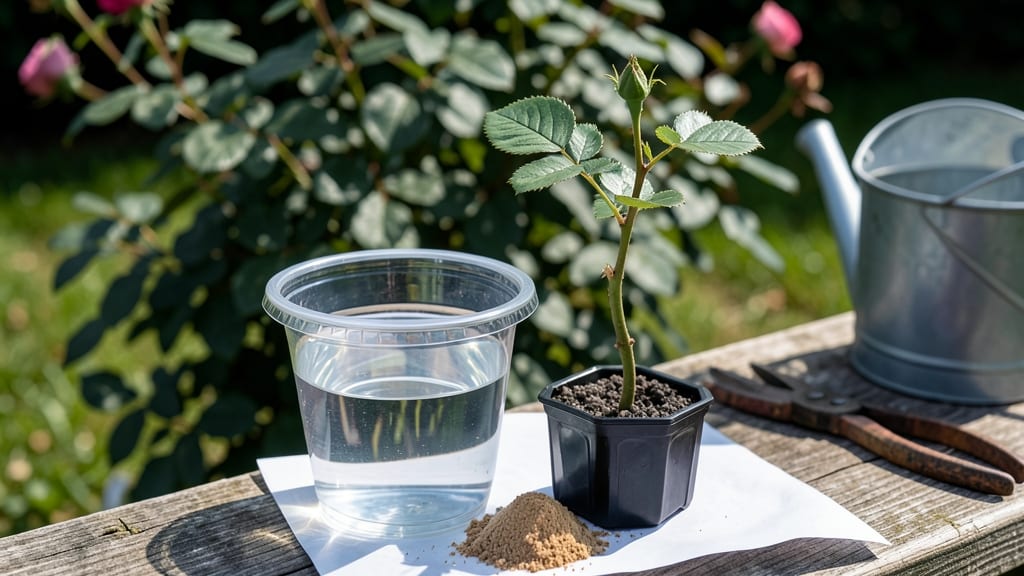
Yes, you can propagate roses from cuttings successfully by selecting healthy 4-6 inch stems, removing leaves below the node, dipping in rooting hormone, and planting in moist perlite or sand. Keep humidity high and avoid direct sunlight for 4-6 weeks until roots form.
Propagating roses from cuttings is one of the most rewarding ways to grow new plants, especially since many varieties don't produce viable seeds. 🌱 The key lies in understanding how rose stems respond to stress—when you cut a stem just below a node (the bump where leaves grow), it triggers a hormonal shift that encourages root development.
Using perlite or sand creates the perfect balance of aeration and moisture, preventing rot while keeping the cutting hydrated. I've found that maintaining a humidity dome (like a plastic bag over the pot) can boost success rates from 60% to over 90% in just a few weeks.
Timing matters too—spring and early summer are ideal because the plant's natural growth hormones are active. For best results, take cuttings on a cloudy day or in the late afternoon to reduce stress from direct sunlight.
If you notice wilting or mold, it's usually a sign of overwatering or poor airflow, so adjust your setup immediately.
💡 In This Article
- How Rose Cuttings Root: Science and Optimal Conditions
- Step-by-Step Rose Cutting Propagation Guide for Beginners
How rose cuttings root: science and optimal conditions
When you take a rose cutting, you're essentially triggering a natural survival mechanism called adventitious root formation. This process begins when you cut just below a node (the small bump where leaves or buds grow) and expose the stem to air.
The plant releases auxin, a rooting hormone, which travels down the stem and stimulates cell division in the cambium layer—the growth tissue just under the bark. This creates new root cells that eventually grow outward.
The key here is that rose stems need a balance of moisture and oxygen to avoid rot while encouraging root growth.
The ideal temperature range for rooting is 70-75°F, which mimics the warmth of spring soil. At this temperature, auxin production peaks, and root cells divide at their fastest rate.
Too cold (60°F or below) slows growth, while temperatures above 80°F can cause the cutting to dry out or develop fungal issues. Perlite or sand is perfect because it holds moisture while allowing oxygen to reach the stem—unlike dense soil, which can suffocate roots.
The tiny air pockets in perlite also prevent the cutting from sitting in waterlogged conditions, which would trigger rot instead of roots.
Humidity plays a critical role too. Roses are native to regions with high moisture levels, so maintaining 70-80% humidity around the cutting mimics their natural environment.
This is why covering the cutting with a plastic bag or using a humidity dome works so well—it traps moisture near the stem without drowning it. Without this humidity, the cutting loses water faster than roots can form, leading to wilting.
I’ve seen cuttings dry out completely in just 24 hours if humidity drops below 50%, so a simple plastic bag can make all the difference.
Ethylene inhibitors, like those found in rooting hormones, also speed up the process. These chemicals block the production of ethylene gas, which is naturally released by stressed plants and can inhibit root growth.
When you dip your cutting in rooting hormone, you’re essentially giving it a head start by reducing this stress response. The hormone also helps the cutting absorb water more efficiently, ensuring the cambium layer stays hydrated long enough for roots to form.
Without it, success rates drop significantly—sometimes by as much as 30%.
Light is another factor that’s often overlooked. While cuttings need some light to photosynthesize and produce energy for root growth, direct sunlight can be too intense and cause the cutting to dry out or overheat. Instead, place your cuttings in bright, indirect light, like near an east-facing window.
This gives them enough energy without the risk of scorching. Think of it like a baby plant—it needs gentle encouragement to grow, not a harsh spotlight.
Finally, the choice of container matters. A small pot with drainage holes ensures excess water escapes, preventing root rot. The container should be just big enough to hold the cutting without crowding—about 4-6 inches wide is ideal.
If you use a larger pot, the extra soil can stay too wet, creating a breeding ground for mold. The goal is to keep the environment stable and stress-free for the cutting, so every detail counts.
With these conditions in place, you’ll start seeing tiny white root hairs emerge in about 2-3 weeks, followed by more substantial roots in 4-6 weeks. The science behind it is fascinating—it’s like watching a plant rewrite its own growth plan to survive! 🌱