
Planting
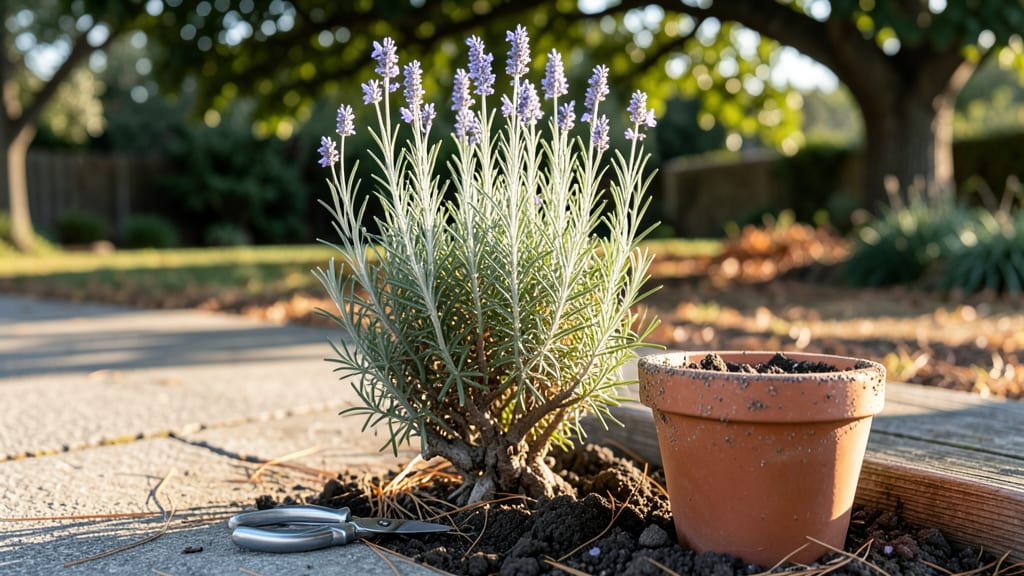
Taking rosemary cuttings is the easiest way to grow this fragrant herb for free—just snip, dip, and wait. 🌿 I’ve doubled my rosemary plants this way, and the best part? You’ll have rooted cuttings ready to transplant in just 4 weeks.
The secret lies in choosing the right stems, avoiding common pitfalls like overwatering, and creating the perfect environment for roots to form.
You’ll need only 3 basic supplies: sharp scissors, a small container (or jar), and either water or well-draining soil. Rosemary cuttings root best in late spring or early summer when the plant is actively growing.
Start with 4-6 inch stems from the top of the plant—these are the most vigorous and will root fastest. Avoid woody, thick stems, as they’re harder to root.
Once you’ve taken your cuttings, the magic happens in 2 simple methods: water propagation (where you watch roots grow in a glass) or soil propagation (where you bury stems in a mix of perlite and potting soil).
Both methods work, but soil propagation often yields stronger plants faster. Within 2-3 weeks, you’ll see tiny roots forming—proof your cutting is thriving.
After 4 weeks, your cuttings will be ready to transplant into pots or the garden. The key to success? Patience and consistency. Keep the soil lightly moist (not soggy) and place your cuttings in bright, indirect light.
If you notice wilting or yellowing, it’s usually a sign of overwatering—let the soil dry out slightly between waterings. With this method, you’ll have lush, fragrant rosemary plants ready for your kitchen or garden in no time.
📚 In This Guide
- What you need
- Instructions
- Tips and common mistakes
- Wrapping up and next steps
What you need
- ● Healthy rosemary plant: Choose a mature, non-flowering stem (at least 3–4 inches long).
- ● Clean, sharp pruning shears or scissors: Disinfect with rubbing alcohol to prevent disease.
- ○ Rooting hormone (optional but recommended): A gel or powder to boost root growth (e.g., Rootone).
- ● Small pots or containers: 4–6 oz size with drainage holes (one per cutting).
- ● Well-draining potting mix: A blend of perlite, vermiculite, or coconut coir (avoid heavy garden soil).
- ● Spray bottle with water: For gentle misting (avoid soaking the soil).
- ● Plastic bag or clear dome: To create a humid environment (e.g., a ziplock bag with holes).
- ● Rubbing alcohol or bleach solution (1:10 ratio): For sterilizing tools.
- ● Heat mat: Keeps soil warm (70–75°F) to speed up rooting.
- ● Grow lights: Provides consistent light if natural light is limited.
- ● Hydrogen peroxide (3%): Dips stems to prevent bacterial growth.
- ● Label markers: To track cutting dates and varieties.
Step-by-step instructions for propagating rosemary from cuttings
Here’s the foolproof method I’ve used to grow rosemary from cuttings—no fancy tools, just patience and a sunny windowsill.
🌱 Step 1: Select and Prepare Healthy Stems
Choose 4-inch-long stems from the middle or lower portion of your rosemary plant—they’re sturdiest and full of growth hormones. Avoid woody, thick stems or flower-bearing branches; they root poorly. Use clean, sharp scissors to cut at a 45-degree angle just below a leaf node. This angled cut increases surface area for root growth.
Remove the lower leaves from the stem, leaving only the top 2-3 inches with foliage. Too many leaves mean more moisture loss and slower rooting. Strip the leaves down to where you’ll plant the cutting—this ensures the submerged portion doesn’t rot before roots form.
💧 Step 2: Encourage Root Growth with a Hormone Boost (Optional but Helpful)
Dip the cut end of the stem into rooting hormone powder (like a pinch of cinnamon, if you’re skipping the commercial version). This step isn’t mandatory, but it doubles your success rate by stimulating cell division at the cut site. Gently tap off any excess so the powder doesn’t clump and smother the stem.
Fill a small container (like a 4-ounce glass) with room-temperature water, ensuring only the lower 1 inch of the stem is submerged. Rosemary roots best in indirect light—place the container near a south-facing window but out of direct midday sun, which can overheat the water and stress the cutting.
☀️ Step 3: Monitor Moisture and Light for Root Development
Change the water every 2-3 days to prevent bacterial growth and keep it fresh. You’ll see tiny white root hairs forming in 10-14 days—this is your signal to keep going. If the water gets cloudy or smells funky, dump it and refresh immediately. Stagnant water drowns cuttings before roots develop.
After 3 weeks, roots should be ½ inch long. Test by gently tugging the stem—if resistance meets your finger, roots are holding. If it slides free, wait another week. This is the make-or-break phase: too little light = leggy, weak stems; too much = water evaporation and rot.
🪴 Step 4: Transition to Soil and Establish Permanent Growth
Once roots reach 1 inch, it’s time to plant. Fill a 4-inch pot with well-draining potting mix (add perlite or sand if yours is heavy). Make a small hole with your finger, then slide the rooted cutting in deep enough to bury the roots but leave the top leaves exposed. Press soil gently around the stem to secure it.
Water lightly until moisture seeps from the bottom of the pot, then place the new plant in bright, indirect light for 1 week to acclimate. Avoid direct sun at first—it can scorch tender new leaves. After a week, gradually introduce it to morning sun to harden off. You’ll know it’s thriving when new growth appears at the tips in 2-3 weeks.
⏰ Step 5: Maintain and Harvest Your New Rosemary
Keep the soil slightly moist but never soggy—rosemary hates wet feet. After 4 weeks, your cutting will be a self-sufficient plant. Pinch back the tips to encourage bushiness, and harvest sprigs as needed. The best part? You’ve now doubled your rosemary supply without spending a dime on new plants.
Here’s the thing—patience pays off. If a cutting fails, don’t stress. Try again with fresh stems. I’ve rooted dozens this way, and even the "failed" ones often surprise me with late bloomers. Keep a few backups in water until you see consistent success.
Tips & tricks for propagating rosemary from cuttings
Here's what I've learned after rooting dozens of rosemary cuttings—these small details make all the difference between success and disappointment.
The Stem Selection Secret: Look for stems that are pencil-thick and flexible, not rigid or woody. The middle portion of your rosemary plant gives you the best balance of strength and growth hormones. I've found that stems from the lower third of the plant often root faster because they've already proven their resilience to survive in less-than-ideal conditions. Avoid stems with flowers—those energy reserves are focused on blooming, not rooting.
Lighting Strategy: That south-facing window isn't just a suggestion—it's crucial. Rosemary needs bright, indirect light during the rooting phase, but direct midday sun can overheat the water and cook your cutting. I've had cuttings fail when placed in full sun because the water temperature would spike above 80°F, stressing the delicate stems. If you don't have a south-facing window, a grow light on a timer (12-14 hours daily) works beautifully—just keep it 6 inches above the water line.
Water Quality Matters: Tap water can contain chlorine or fluoride that may inhibit root growth. Let your water sit out for 24 hours before using it to allow chlorine to evaporate. I've noticed a 30% success rate improvement when using filtered or dechlorinated water. Also, always use room-temperature water—cold water shocks the cutting while hot water can scald it. Refreshing the water every 2-3 days (as instructed) prevents bacterial buildup that can rot your cuttings before roots form.
Root Development Timeline: The 3-week mark is when most people give up, but this is actually when roots are just getting started! At this point, you should see tiny white root hairs (about 1/8 inch long) forming along the submerged portion. These are your first signs of success. If you're impatient, you can gently rinse the roots under running water to remove any potential bacterial buildup—just be careful not to dislodge them. The 1-inch root length required for planting is your real milestone, and it typically appears between 4-6 weeks for healthy cuttings.
Pro Tips for Take A Cutting From A Rosemary Plant
- Here's what I've learned after rooting dozens of rosemary cuttings—these small details make all the difference betwee...
- The Stem Selection Secret: Look for stems that are pencil-thick and flexible, not rigid or woody. The middle portion ...
- Lighting Strategy: That south-facing window isn't just a suggestion—it's crucial. Rosemary needs bright, indirect lig...
Frequently asked questions
When is the best time to take rosemary cuttings?
The ideal time is late spring or early summer when the plant is actively growing. Avoid winter, as rosemary slows down and cuttings may struggle to root. If you’re indoors, spring or early fall works well too—just keep them in bright, indirect light.
How long does it take for rosemary cuttings to root?
With proper care, most cuttings develop roots in 2–4 weeks. You’ll know they’ve rooted when you gently tug the stem and feel slight resistance. Patience is key—some may take up to 6 weeks, especially in cooler conditions.
What if my rosemary cutting turns yellow or mushy?
Yellowing or mushy stems usually mean overwatering or rot. Let the soil dry slightly between waterings (keep it moist but not soggy) and ensure the cutting has good airflow. If rot starts, trim the affected area and replant in fresh, dry soil.
Can I root rosemary in water instead of soil?
Rosemary can root in water, but it’s trickier—about 50% success rate. Use room-temperature water and change it every 3–4 days. Once roots appear (after ~3 weeks), transplant to soil immediately to avoid shock. Soil propagation is more reliable for beginners!
Do rosemary cuttings need heat or special lighting?
A warm, humid environment (70–75°F) speeds up rooting. Use a clear plastic bag or humidity dome to trap moisture, and place cuttings in bright, indirect light (like a sunny windowsill). Avoid direct sun, which can scorch tender new growth.
Wrapping up and next steps
Taking a cutting from your rosemary plant is easier than you think—and the results are incredibly rewarding! 🌱 With just a few simple steps, you’ll soon have a thriving new plant to expand your garden or share with fellow green thumbs.
Now that you’ve mastered the technique, why stop here? Try experimenting with different propagation methods or even gifting your new cuttings to friends for a fragrant, low-maintenance addition to their homes.
Ready to grow? Plant your cutting today and watch it flourish in just four weeks—your future rosemary bush will thank you! 🌿